

Remember this? Yeah. It's bad.
The solution to this epic mess? Depotting your shadows, or removing the metal pans from their bulky plastic packaging; and putting them into bulk palettes. MAC, MUFE, and companies like Z-palette and Uni Palette all make suitable shadow housings, but instead of paying the retail prices for those palettes, I'd rather be buying more shadows. So DIY'd one myself out of a metal drawing pencil case :D

You Will Need:
A hair straightener, or if you don't have one a candle.
A thumbtack
A straight edge, or something slim and strong you can use to pry apart packaging
A Sheet of wax paper large enough to flow over the edges of your straightener
Magnet Tape
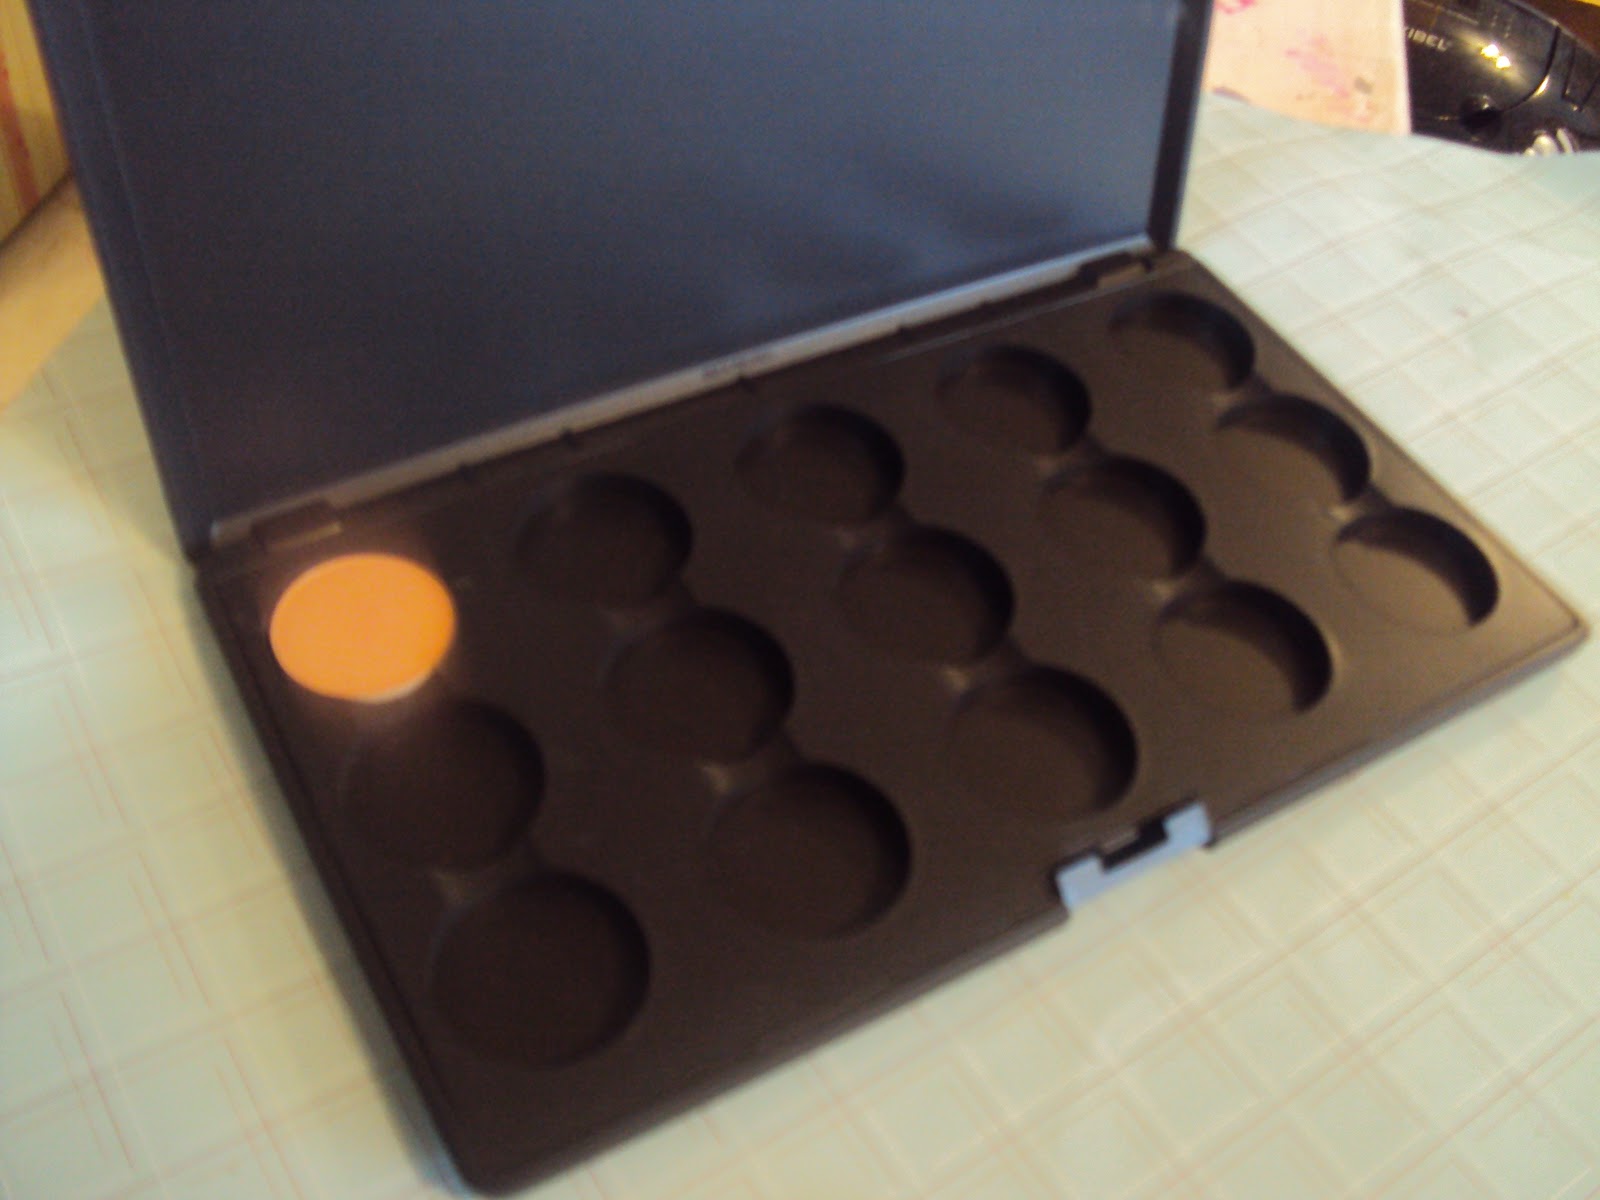
A home for your shadows (No matter how icky it may look....lol)
The shadows you need to store
Once you have all of those things, you're ready to get started :D
Start my turning your straightener on and letting it heat up. My straightener's highest heat setting just so happens to be 25*, and I think that's pretty much the coolest you can go for this to work. You can go hotter, but just keep in mind that the higher you go the quicker your plastic and glue will melt so you'll need to keep a very close eye on it.
While you're waiting, separate your shadows from the bulk of their packaging. Obviously, every brand has a different packaging design, but for the purpose of this tutorial I'll be using a MAC shadow. Even for other brands, generally each enclosure has some sort of indentation near it's clasp. On the Mac one it'll look something like this.

Between the packaging and the base (which is holding your eyeshadow pan), I've drawn arrows to point out the indentation you should be looking for. Take your straight edge, and wedge it into this area. Once you're in, give a slight twist and the base will pop away from the packaging and look like this.

It takes a bit of practice, but once you get into the rhythm it's really very simple.
By the time you have your base and packaging separated, your straightener will have heated up to your desired temperature. Place your wax paper on your straightener's plate, and then put your base on top of it so the wax paper is between your base and your straightener. It is very important that you DO NOT put your base directly onto your straightener because the plastic will completely melt, ruin your iron, and destroy your eyeshadow. DO NOT press down on the top of your eyeshadow. Just let it sit there for 3-5 minutes as shown.

The purpose of doing this is to melt the adhesive between the back of your eyeshadow's pan and the plastic base. Don't worry, the wax paper won't burst into flames or anything. Just remember not to keep your pan on there too long. If you leave your pan exposed for more than a few minutes, it will become hard and unusable. If you stay within the time guidelines, your precious will sustain no damages :D.
After 3-5 minutes, grab the ends of your wax paper and slide it, with the pan on top, off the straightener. Wrap the ends over the base so it looks kinda like a burrito, with the shadow facing down. You'll notice that the back of the base will have a small impression near the center where the plastic has melted. Stick your thumbtack in here and push until the shadow Pan pops out. DO NOT TOUCH THE METAL PAN. It will be extremely hot. Use your straight edge or some other tool to scoot the pan out completely away from the base and leave it on a cold surface to cool.


I was working on my kitchen counter, which is granite so my pans cooled in about 30 seconds. When you're all done you'll have a neat little shadow pan like this:


Purchased Pan (left), Depotted Pan (right)
Quick Tip: Personally, I like to depot the shadows I want to store, or don't use often. Because I travel often, I leave my 3 or 4 everyday shadows in pan form just because I feel like it's just more convenient to take those than my whole palette.

It was nice talking to you today :3
No comments:
Post a Comment